Updated on April 4th, 2022
Whether you’re recording soaring vocals or instrumentals, making your own sound effects, or producing a podcast, condenser mic is the way to go for getting the best-sounding recordings. A proper condenser mic is more sensitive than most dynamic microphones, and so it will produce a more nuanced and subtle sound.
Setting your microphone up correctly is important since, if you get it wrong, you’ll either simply not get any power to the mic or, at worst, you could damage or even break it. That’s because condenser mics require an external power source to operate, and the majority of them require what’s called phantom power. Connecting phantom power incorrectly will cause a loud popping sound, which is what causes the damage.
In this article, we’ll run through how to connect a condenser microphone to your computer, as well as to a combo amplifier, so you can avoid some of the common pitfalls and get to record your high-quality audio as easily as possible.
How to Connect a Condenser Mic to a Computer
The exact steps will vary somewhat depending on which microphone you have. Some of them come with an internal power source (batteries) or their own dedicated power supply, but most current product condenser mics will need phantom power. Making sure you have the right equipment is a necessary part of getting set up.
Although phantom power originally described an external device that’s able to tap into its own power supply and provide electrical power (in this case, phantom power) to a condenser mic, plugging a pair of unpowered computer speakers or another device into the USB port of your laptop or desktop and drawing the standard 5V and up to 0.5A of electrical power from your computer can be considered a sort of phantom power.
By the same token, if your microphone has a USB connector, you’ll be able to plug it directly into your computer. Most condenser mics, or at least the higher-end mics, don’t have one though, and if it doesn’t, you’ll need to get a mixer that can provide phantom power to the mic. There are plenty of simple and cheap mixers available made specifically for this purpose.
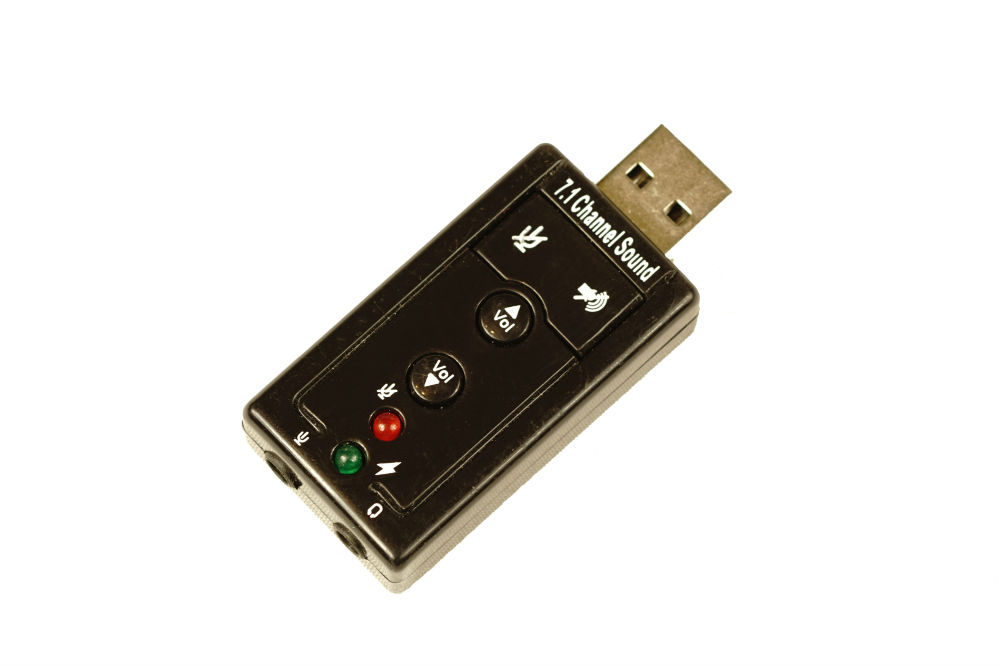
Next, you’ll need to be able to connect your mixer to your computer, which means you’ll either need to install a sound card that has a port for a quarter-inch jack, or you can get a mixer that has USB connectors and use those. Connect the microphone to the mixer, and the mixer to the computer. If either of them has any provided software, you should also be sure to install it.
Finally, you’ll need to get some decent recording software. While Windows and MacOS both come with recording software, they’re pretty basic in comparison to the dedicated products available on the market. Audacity, Adobe Audition, and Cakewalk are a few good examples you can check out.
How to Connect a Condenser Mic to a Combo Amp
Connecting your mic to a guitar amp can be a relatively simple process, provided that it has a three-pin XLR connector on it and is able to provide phantom power. Some manufacturers mislabel their amps as being able to provide phantom power when what they actually provide is bias power. If your amp only has quarter-inch audio jacks on it, rather than an XLR port, then it supplies bias power and not phantom power.
If it does have an XLR connector and phantom power, then it’s as simple as hooking up your mic to the amp using a male-to-female XLR cable. Otherwise, similar to connecting it to a computer, you’ll have to look into getting a preamp that provides both, or a condenser mic that has an onboard battery supply and a quarter-inch RCA audio jack connection.
Condenser Mic Tips
Here are a few things that will help you get the most out of your condenser microphone setup:
- Always make sure that the phantom power switch, button, or software setting has been switched off before you connect or disconnect your microphone. It will usually be labeled as P48 or 48V. Leaving it on when plugging in or out will create a loud popping sound which can damage or even break your equipment
- If your microphone has a pattern switch, set it to cardioid. This will ensure that it only picks up sounds from the front, as opposed to also picking up audio from the back and sides
- Place your mic between 4 and 16 inches (10 to 41 centimeters) away from what you want to record, and make sure that it is facing in the right direction.
Conclusion
As long as you have the correct equipment, hooking up your condenser mic to your computer or guitar amp is pretty much as simple as switching off the power and plugging all the cables into the right places. Just be sure that you’re using the right cables and, seriously — turn off the power. You don’t want to have gone to all the trouble getting everything sorted just to blow your mic at the last minute.
See related topic:
Do Condenser Mics Need Phantom Power?
Best Stand Mixers in the U.S. That Are Selling Like Hot Cakes 2021 Acekool Stand Mixer
We hope you love our reviews! For your information, we do earn money from commission in the link in the content! For more information click here!


