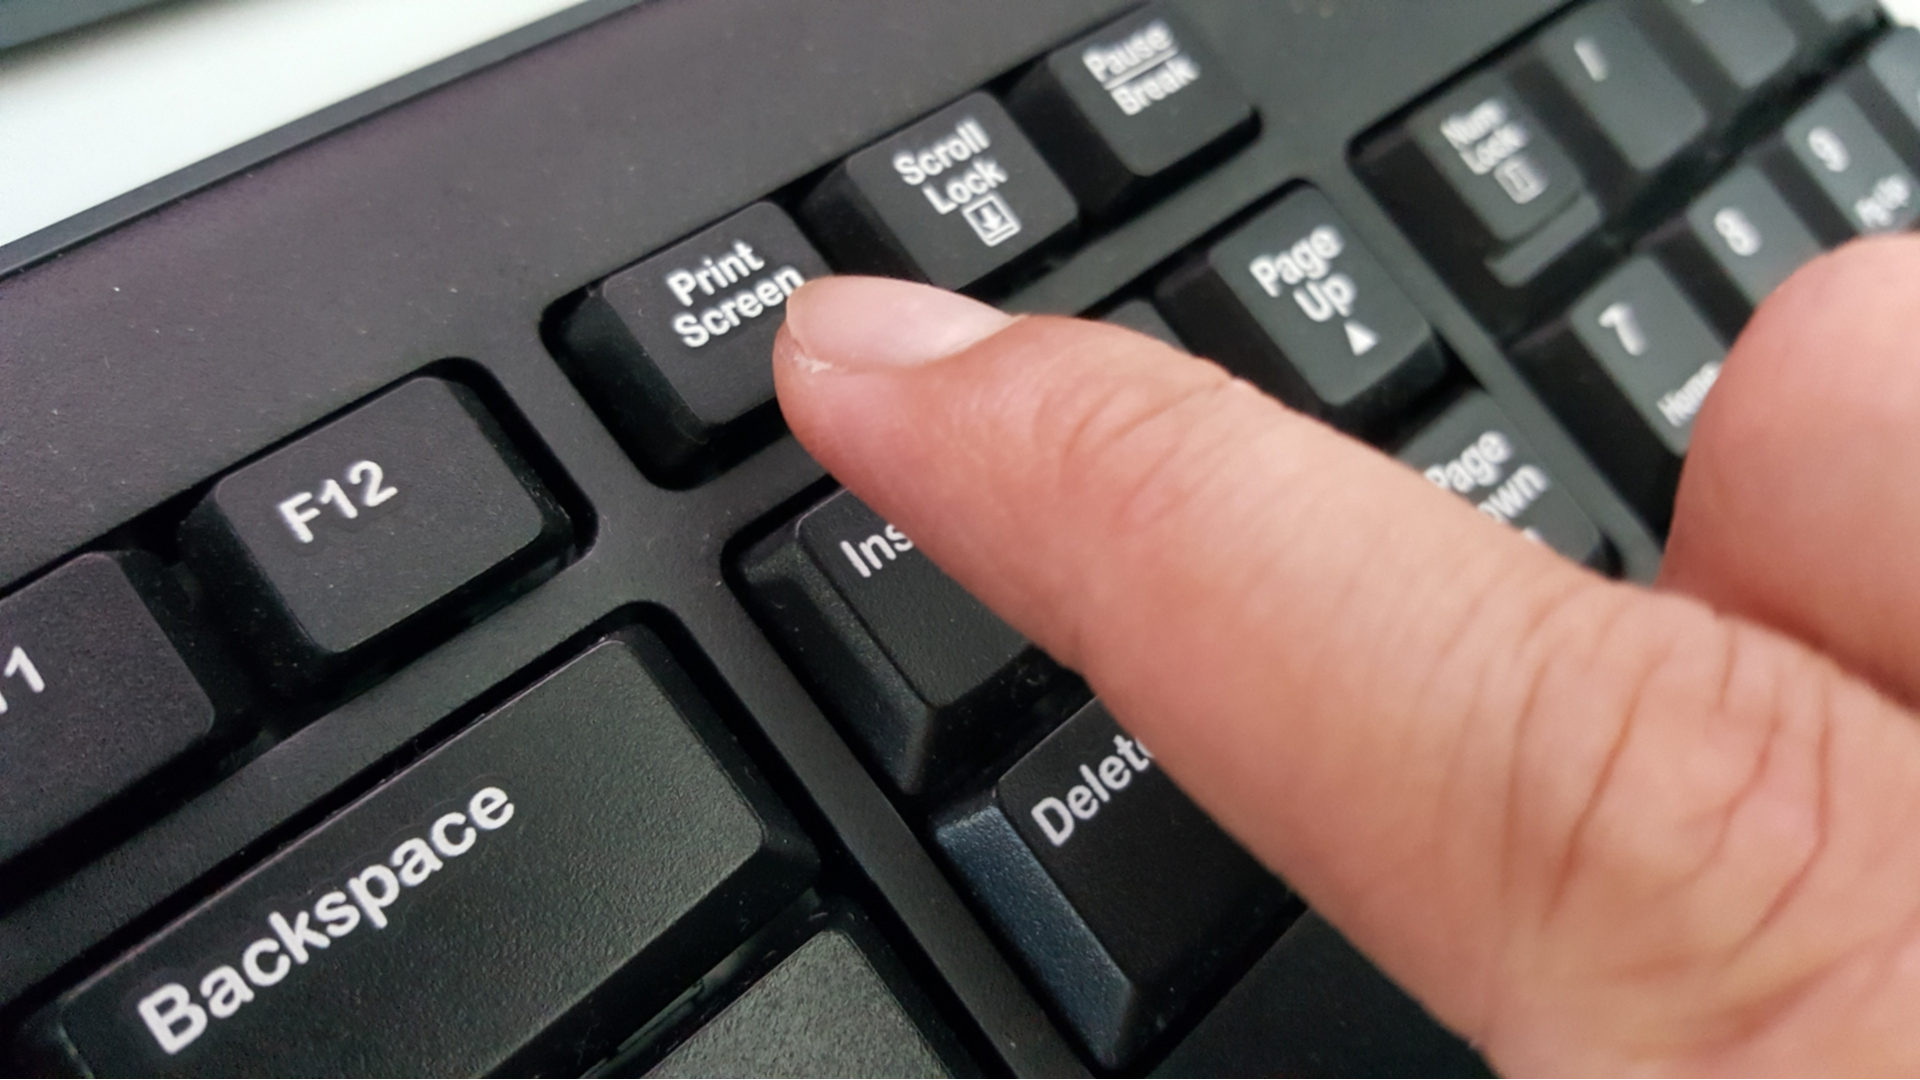
Wondering how to screenshot on Windows? Screenshots can be useful at work, necessary for record-keeping, or required by tech support to better describe an issue.
To take a screenshot on Windows, use the following methods:
Check the HP 14 Laptop, AMD Ryzen 5 5500U, 8 GB RAM, 256 GB SSD Storage, 14-inch Full HD Display
Method 1:
Take a screenshot with Print Screen
The Print Screen (Prtcn) key in Windows 10 is the simplest way to take a screenshot. This button is normally found near the Function (F#) keys on the top row of the keyboard on your laptop.
- Simply hit PrtScn on the upper-right side of your keyboard to capture the complete screen.
- Using the PrtSc/Print Sc buttons on the keyboard, you can snap a screenshot on a PC. To capture a screenshot of the full screen, use the PrtScn or Print Scrn buttons. Your clipboard will be stored with the snapshot.
- Paste the screenshot into any tool that allows you to input pictures, such as Microsoft Word or Paint, to save the file.
- Alternatively, use the Windows key + Print Screen key to capture the full screen and save it as a screenshot. To signal that you've just taken a screenshot, your screen will darken for a brief moment. Pictures > Screenshots will be where the screenshot will be kept.
- To activate the screen capture, hit the Function (Fn) key and the Print Screen button on certain keyboards, i.e. Fn + PrtSc button/or Print Scrn.
This will take a screenshot of the full screen and save it to your clipboard.
By default, this approach copies the picture to the Clipboard rather than saving it as a file. After that, you may paste it into a document (such as a Word or Google document) or an image processor (by hitting Ctrl+V or Right-Click > Paste) (Like Paint, or even Photoshop).
Take a look at the MK270 Wireless Keyboard and Mouse Combo

Method 2:
Hold down the Alt key and press the Prt Sc key
- Use the keyboard shortcut Alt + Prt Sc if you just want to capture a single window.
- To take a screenshot of the window you want, not just any window, you must first pick the window you want by clicking on it.
- Then hold down Alt + Prt Sc. This will copy the picture to the Clipboard, which you may then paste someplace else to recover it.
If you wish to save the image as a file, you may use a keyboard shortcut to do so.
- Simply hold down the Windows key (the one with the Windows logo) while pressing the Prt Sc key. This creates a file from the image.
- It's situated in C: Users> user name>Pictures>Screenshots by default.

Method 3:
The Snipping Tool
The Snipping Tool is the finest native alternative approach. When it comes to saving a screenshot, its built-in screen-capture software is adequate, but it isn't the most robust or adaptable. It is, however, a tool that helps users to better define and capture screenshots of areas of their desktop display. Here's how to put it to good use.
Check out the Acer Aspire TC-1660-UA92 Desktop | 10th Gen Intel Core i5-10400 6-Core Processor
Step 1: Simply put the snipping tool into the taskbar's search box and choose the program that appears. If you're using Windows 10, you'll see a message when it first starts up saying it's "going to a new home" in a later update. Don't be concerned. It's still accessible in Windows 11, although Microsoft recommends using Snip & Sketch or the Win + Shift + S shortcuts instead.
Step 2: After you've launched the Snipping Tool, click the Mode button to expand the options. There are four screen-capturing solutions available: Free-Form Snip allows you to draw a window box in an area (Rectangular Snip), capture the current window (Window Snip), and capture the full screen (Full-Screen Snip).
The utility is designed differently in Windows 11. When you launch the Snipping Tool, you'll see a new rectangle mode and no delay. These buttons perform the same functions as the preceding ones. However, you must click the down arrow next to rectangle mode to access the window, full-screen mode, and free-form mode.
Step 3: The screen goes white when you utilize the Free-Form and Rectangular Snip modes. The white tint within the screenshot space clears as you start defining it. When you use Window Snip to capture a specific window, your screen turns white save for the contents of the window you choose.
Step 4: The Snipping Tool also has a delay option. It can take one to five seconds to take an amazing screenshot, allowing you to record a specific point in a film or animation. The Snipping Tool interface extends to display your screenshot once you take it. Light adjustments, such as deleting something using a pen or highlighter, are possible.
Step 5: When you're through editing with the Snipping Tool, go to File in the upper-left corner and select Save As from the drop-down menu.
As you can see, the question 'how to screenshot on Windows' may be answered in a variety of ways. Unless you have special requirements, you may use the built-in tools and capabilities to capture screenshots of your screen or apps without having to install third-party programs.
Are you a Mac user too? Check out how to screenshot on Mac.
We hope you love our reviews! For your information, we do earn money from commission in the link in the content! For more information click here!


