Updated on February 9th, 2022
Scrolling down your Instagram or Facebook, you find something interesting and the first thing you do is take a screenshot. Well, in smartphones, screenshots just require a click. But in a Windows 10 system, there are many ways. Taking a screenshot on Windows 10 PC is not an uphill task. It's just as easy as taking a screenshot on your Android phone.
Windows 10, one of the latest versions of an operating system, had screenshot capabilities since its inception. But many found it complicated or demanded a simpler way. So, now the tech software has engineered different ways to take a screenshot on Windows 10. Even in Windows 11, the most recent Microsoft OS, is also embedded with options like a snipping tool to take a screenshot.
Let's walk you through the different ways, you can take a screenshot on Windows 10.
Print Screen Key With One Drive
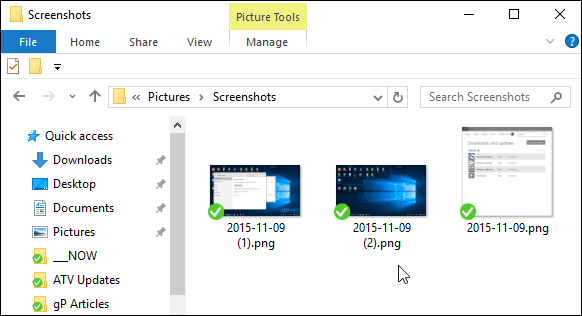
The screenshot capability on any Windows system is through the Alt+Print Screen key. Similar is the case with Windows 10. That means Alt+PrtSc can help you save your active window screen. And it's definitely the easiest way ever. However, here's a way you can make it one step smarter. So, you just need to go to One Drive settings and select Automatically Save Screenshots to One Drive. By doing this, you save time in opening another imaging app, paste the screenshot and then save the file. With such a setting, you can easily save a screenshot and it directly saves to the One Drive.
Check out Windows 10 Professional with USB Flash Drive and upgrade to Windows 11 available as well.
Through Snagit
While the Alt+PrtSc option is available on the system, if you need a more precise screenshot- use Snagit. Several tech-savvies like this third-party tool Snagit. Unlike Windows 10's built-in screenshot tools, Snagit has an advantage compared to the former one. With Snagit, you can take photos/screenshots and it goes to the utility repository that you can access anytime. Besides, the most interesting features of this screenshot tool are video recording and scrolling window screenshots. Moreover, after you take snaps, you can browse the photos and save them to the folder you want. And this tool ensures precise image-editing and drawing options that can help in your work too. So, get this tool to take advanced screenshots on Windows 10, as it's worth it.
Grab your Snagit 2022 - Screen Capture & Image Editor [PC/Mac Online Code] only here.
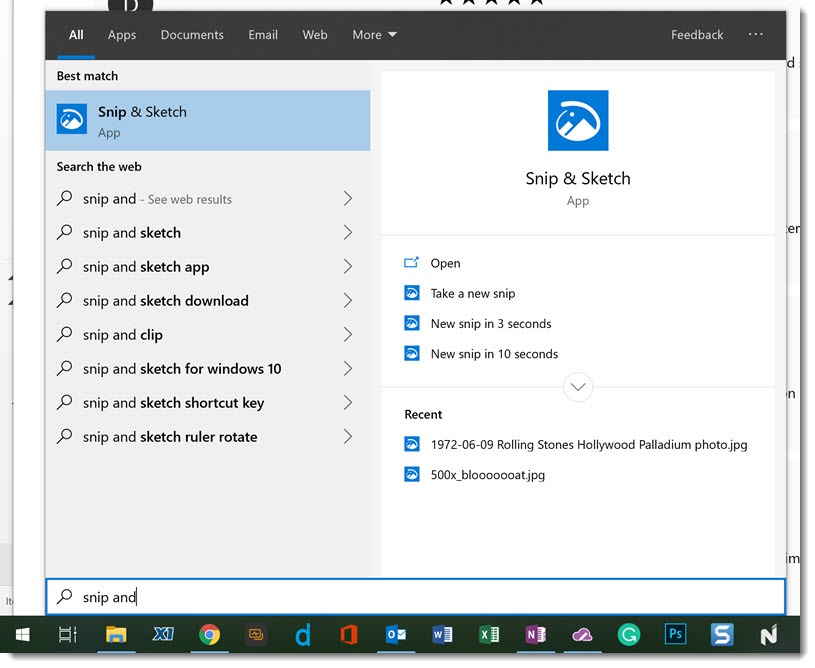
Snip and Sketch with Shift+Windows+S keys
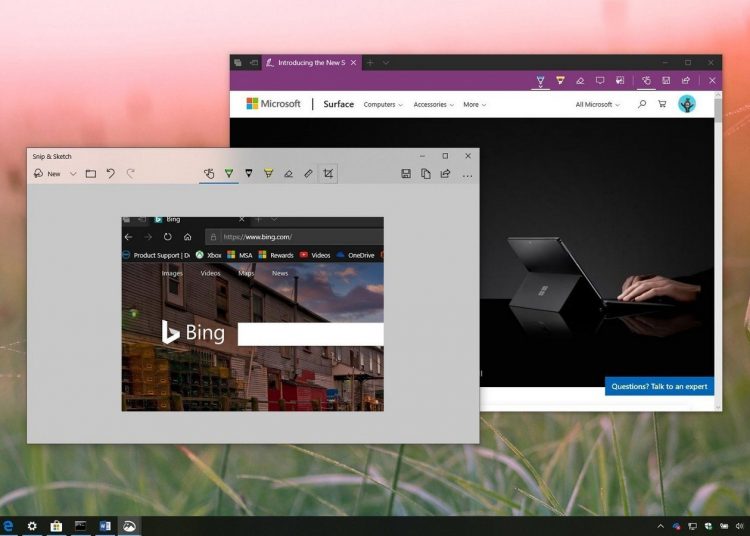
We all know snipping tool is also one of the ways to take a screenshot on Windows 10. While you can use screen snip through PC's Action Center but there's a key combination too. You can try the Shift+ Windows key+ S combination to take a snip. Unlike other ways, this key combination offer options like taking a snap of the full screen or just one section on the window. Moreover, this key shortcut redirects to the thumbnail panel or Snap n Sketch window. Once you're on this window, you can use a pen, highlighter, eraser, or cropping tool to take the screenshot. Then save that screenshot in the folder of your choice. Further, you can also share the snap using the Windows share menu. Whether it's Instagram or another PC, you can share it without any hassle.
Give a try to Windows 10 Pro Laptop with Intel Celeron Dual-Core, 6GB LPDDR4.
Through Windows Game Bar
Another simple way of taking screenshots on the Windows 10 system is through the combo of Windows key+G. All you have to do is hit Windows+G keys to open the Game Bar window. On this window, you'll find an icon similar to a camera under the section Broadcast and capture. Click on that camera-like icon and your screenshot is saved in the Videos/Captures folder. That's all you need to take screenshots on Windows 10.
Take a look at the newest Windows 10 laptop 2021 Newest HP 15.6" FHD IPS Touchscreen Laptop with 10th Gen Intel Quad-Core i7-1065G7.
Also, check out How To Backup iPhones And How To Restore iPhone From Backup?
We hope you love our reviews! For your information, we do earn money from commission in the link in the content! For more information click here!

:max_bytes(150000):strip_icc()/004a-windows-10-game-bar-4150524-4f7b471225a94f77ac9de583d4a83689.jpg)


